

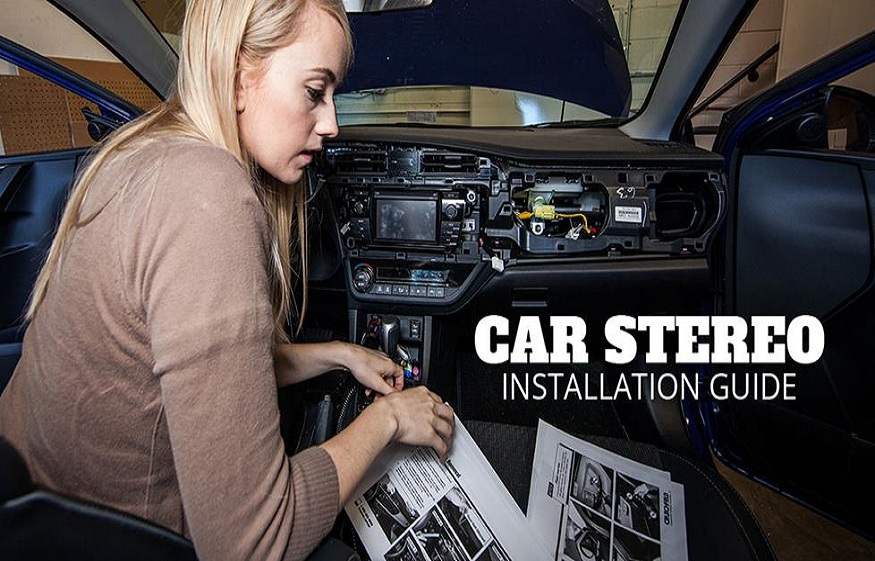
One of the best ways to enhance the audio experience in your car is by upgrading your stereo system. However, a common misconception is that fitting a new car stereo is challenging and requires professional help. In reality, anyone with basic knowledge of wiring and components can do it efficiently.
Here’s a step-by-step guide to help you replace your old stereo system with a new one.
We will cover the tools you’ll need, what to consider before you begin, and the steps to take.
1. Gather all the necessary tools
The first step to fitting a new car stereo is to gather all the necessary tools. You’ll need a new stereo system, a wiring harness, a mounting kit, screwdrivers, pliers, wire strippers, and electrical tape. Depending on the type of car you have, you may need additional tools like a pry tool or a trim tool.
2. Choosing a Suitable Stereo
Before purchasing your new car stereo, ensure it’s the right size for your car’s dashboard and compatible with your car’s wiring. Research stereo models that suit your car and your audio preferences. Consider features such as Bluetooth connectivity, aux input, and CD player compatibility. Once you choose your new stereo, follow the manufacturer’s installation instructions.
3. Disconnect the old stereo
The next step for car stereo fittings is to disconnect the old stereo. Begin by removing the negative battery cable. Then, use your pry tool or trim tool to remove the trim panel around the stereo. Once the trim panel is off, unscrew the stereo from the dash and disconnect all its wires and cables.
4. Install the mounting kit and wiring harness
The other step to fitting a new car stereo is to install the mounting kit and wiring harness. The mounting kit ensures that the new stereo fits perfectly into the dash, while the wiring harness connects the new stereo’s wires to the factory wires in your car. Follow the instructions in the mounting kit and wiring harness manuals to complete this step.
5. Connect the new stereo
The fourth step to fitting a new car stereo is to connect the new stereo. Connect the stereo’s wires to the wiring harness and insert the stereo into the mounting kit. Ensure the stereo is secure,then reattach the dash trim panel.
6. Test the new stereo
The final step to fitting a new car stereo is to test the new stereo. Reconnect the negative battery cable and turn the car on to check if the stereo works properly. If it is, congratulations, you have successfully fitted a new car stereo.
7. Secure the new stereo
Once you are satisfied with the new stereo’s performance, it’s time to secure it. Use the screws and mounting brackets to fix the stereo into the dock. Ensure the stereo is inserted securely into its position to avoid any rattling noise during the ride.
Conclusion
Fitting a new car stereo may seem daunting, but with the right tools and a step-by-step guide, it can be a fun and easy DIY project. Following the steps outlined in this guide, you can upgrade your car stereo system and enjoy your favorite tunes while driving. So, gather your tools and get started on fitting your new car stereo today.